Ender 3 Pro
There are lots of reviews of the Creality Ender 3 Pro (or other Ender 3 family members). This is not a review. I’ve had this printer for about 6mo. Prints have been generally good quality regardless of filiment brand (including the free stuff that gets included with a printer).
this is a nice video about setting up the printer. The only thing of particular note is that after a couple weeks, I noticed a lot of buildup on the wheels. It turns out that the wheels generate a lot of static electricity, and this charges the dust in the air. Some of it has the opposite charge as the wheels, and so it sticks. The more dust in the air, the faster it will show up. As long as the wheels move smoothly, you don’t need to worry about it. Just wipe it off and keep going.
Obviously not all of this needs to be done at the same time. You can pick and choose what you want to do. You probably also want to get all of the changes that will require bed leveling at the same time so you can reduce the amount of time going through the process.
3D printed parts/improvements
Purchased Upgrades/Tools
- Creality metal extruder: Replaces the stock plastic unit that can easily wear out and become wobbly. Note: This lasted for 6-9mo. and has been replaced.
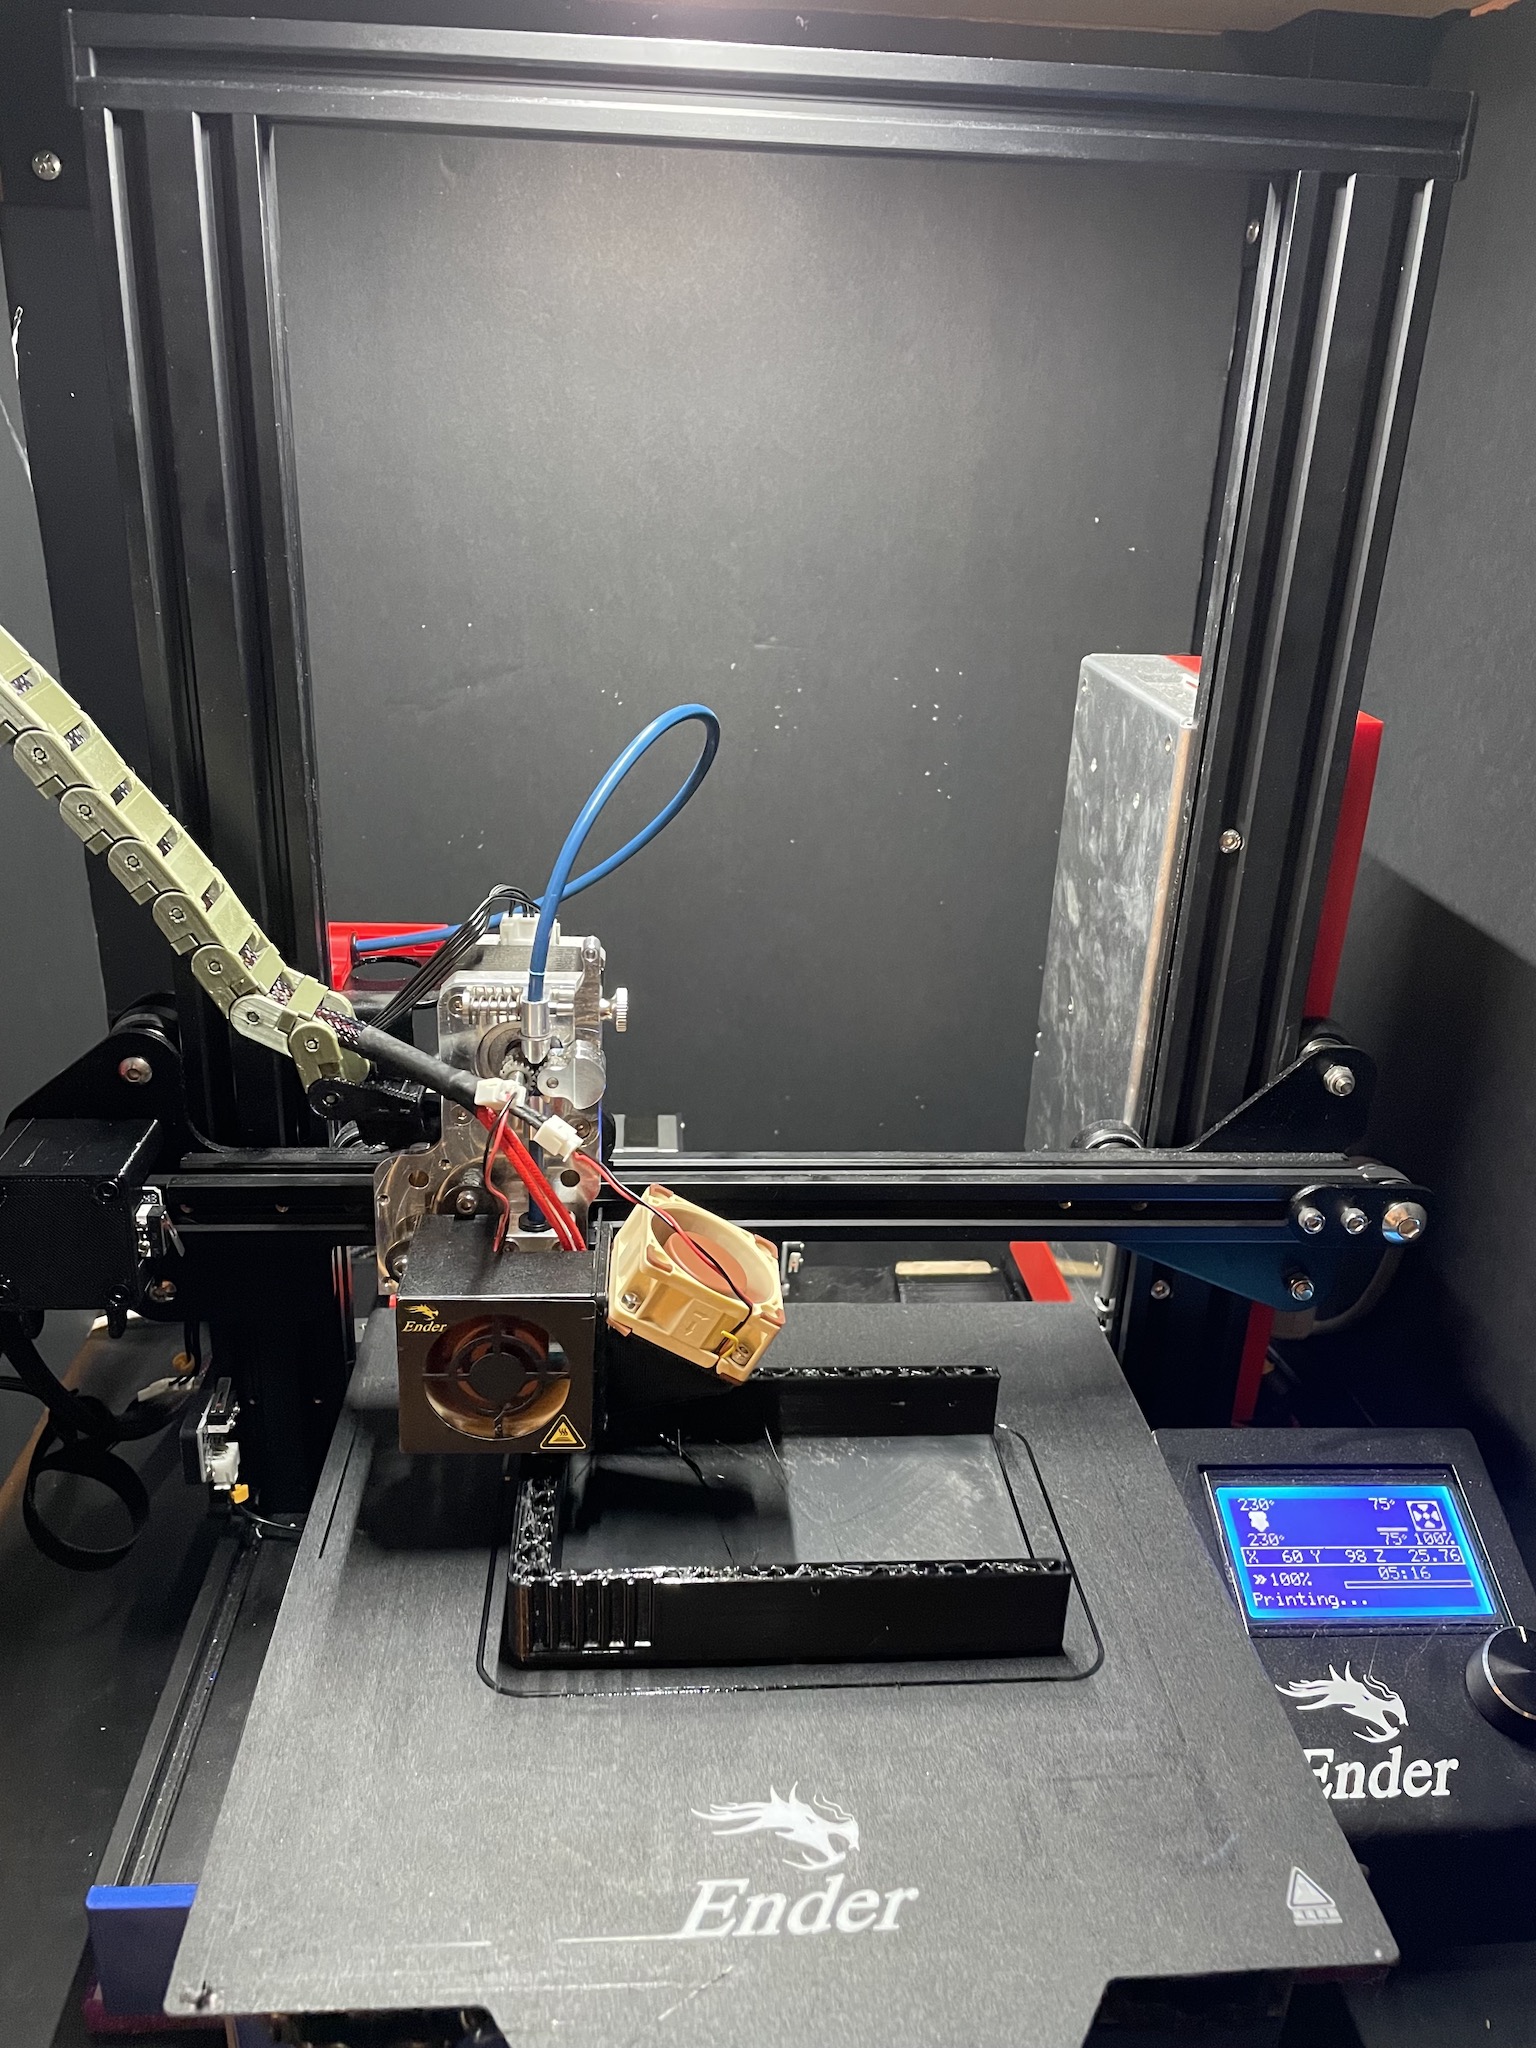
- Microswiss direct drive: I wasn’t originally intending to go direct-drive, but the ~$20 replacement cost of a creality extruder (or clone), or a clone bmg, and having them only last 6mo caused me to look at alternatives. I wasn’t quite up to the $80-90 of a real BMG, so the Microswiss looked like a reasonable alternative.
- XT60 Y Connector, XT60 Connectors: If you’re going to power your RPi from the printer PSU, you’ll need these.
- Dupont Crimper, Dupont Connectors: In order to crimp the dupont connectors you need this. Connectors for the crimper. Used for all the things you want/need to plug in (fans, buck converters, RPi, etc)
- Microswiss Metal Hotend: Replace the stock hotend. Useful if you want to print the more exotic materials (nylon, hips, carbon fiber, etc)
- Buck Converters: Used to adjust the voltage from the stock 24v to 12v or 5v. Needed for fans or RPi.
- Fan replacement: Replace the stock fans with Noctua. 40x10 (x1) for the control board, 40x20 (x2) for the hot end and parts cooling.
- SKR Mini E3: Replace the stock board. Silent stepper drivers is such a difference.
- Bed Mounts: Less time spent leveling the bed.
- SKR/RPi rear mount: Mount your control board and Raspberry Pi on the back side of the printer.
Printed Upgrades
- Part cooling fan shroud: Mount a Noctua 40x20 as a part fan
- Filiment guide: Keep your filiment from bumping your Z-rod and getting greasy.
- Nozzle drawer: Place to keep your spare nozzels organized
- Dual Drawer: Drawers for holding tools on the front of the printer.
- Squash ball feet: To absorm some of the vibration and make printing a little quieter.
- Squash ball feet offset: The front feet need to be offset a little if you use the above drawer system.
- Cable chains: These help from wearing out the wiring by keeping it from bending as hard.
- Cable chain mounts for X axis: This allows connection of the cable chains for the X gantry.